
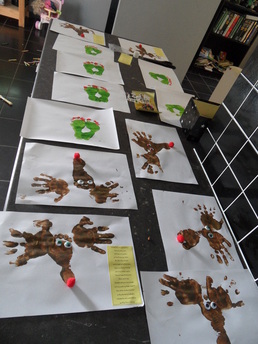
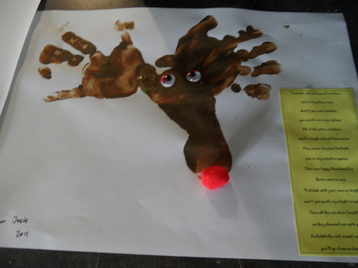
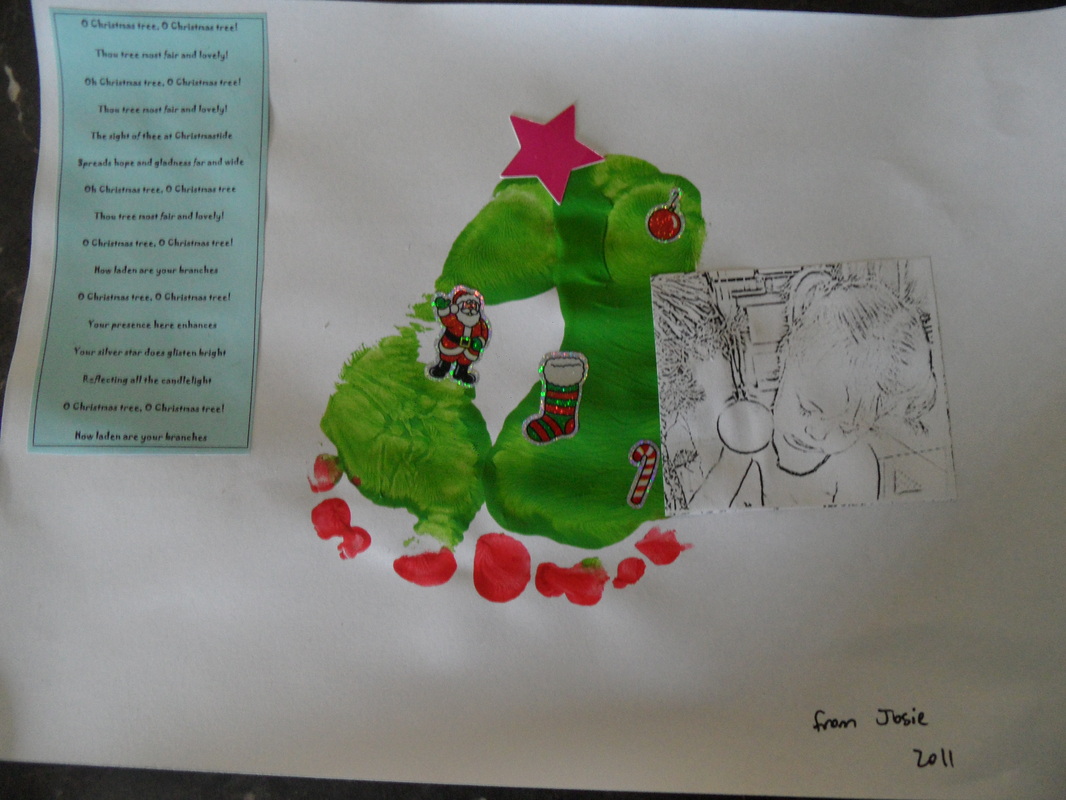
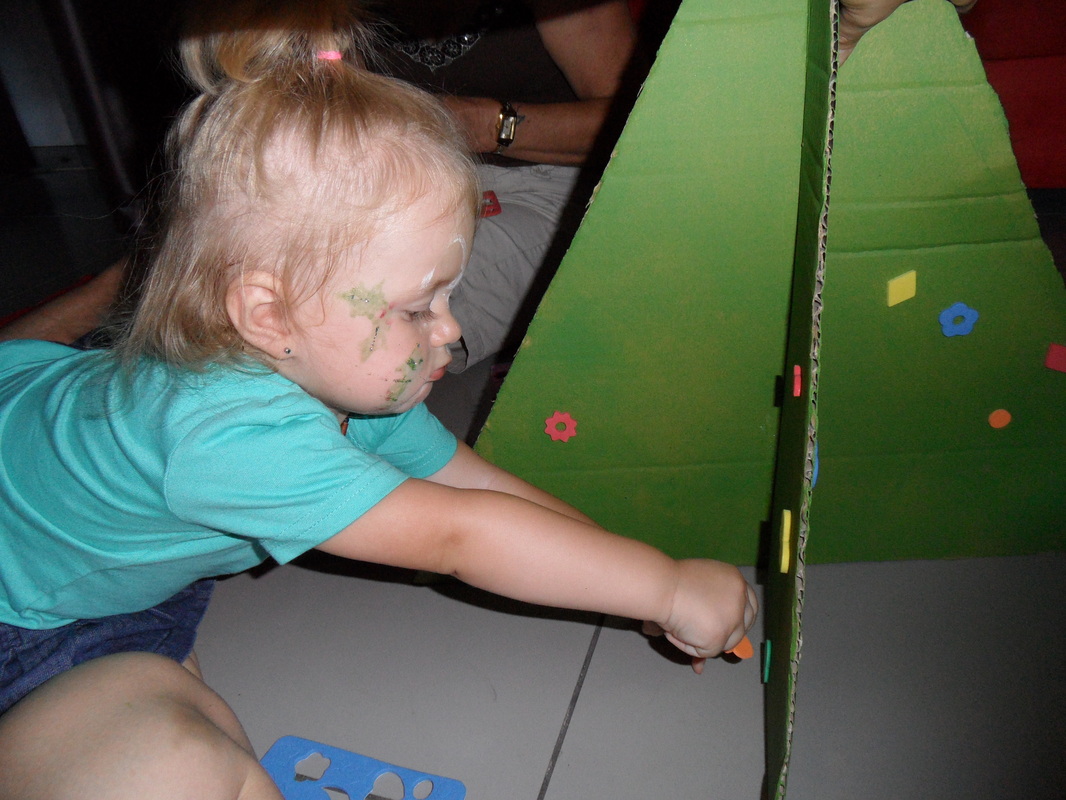
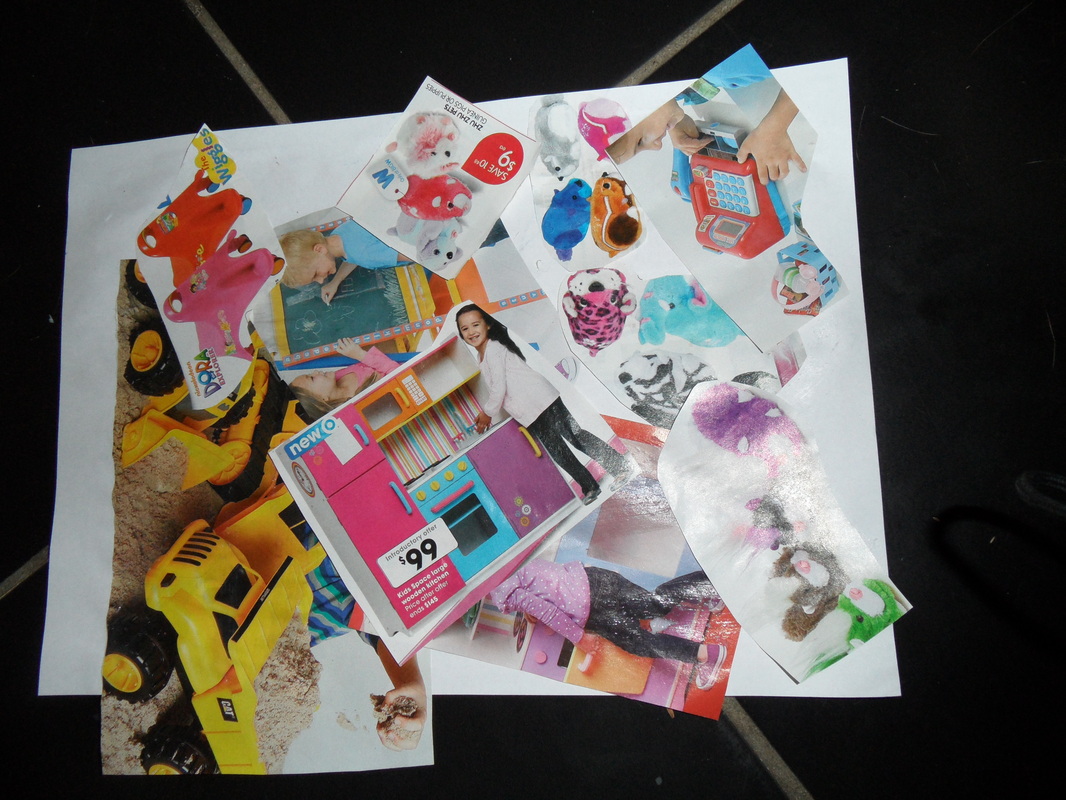
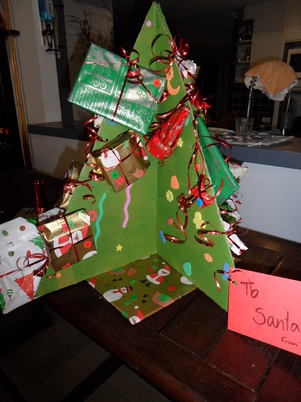
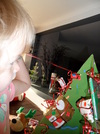
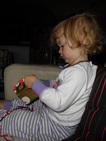
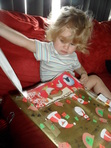
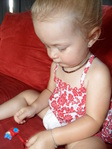
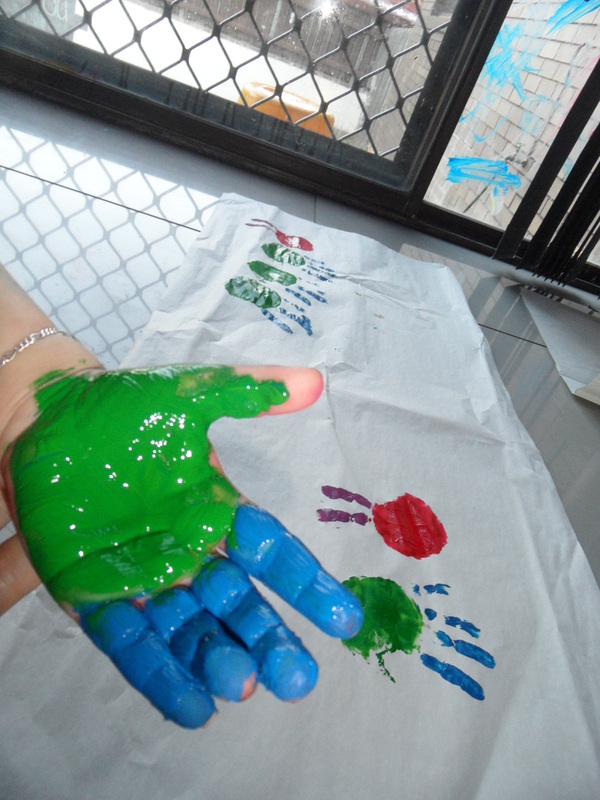
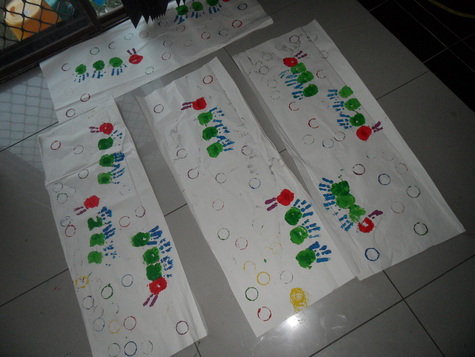
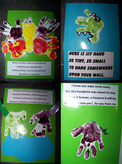
After the first year present debacle of no paint and having to photo copy my baby I really wanted some thing cute. We made foot print Christmas trees and hand and feet reindeer. My favourite is the Christmas tree. Cakes had her feet painted green with red toes. She then glued on a photo of herself I had turned into a colouring-in sheet on the Crayola website and a few Christmas stickers (I had intended on her gluing on wrapping paper pictures though never finished cutting them out, in fact I am still cutting them now a few years later). The reindeer we printed with brown paint (I used adult paint I got for free at Uni and didn't realise, she had brown feet for days and there was a brown ring around the bath tub until May), then she added googly eyes and a pom pom for a nose, a few reindeer eyes were a bit skewy but everyone was so please she had done it 'all by herself' (her favourite words for sometime).
 |  |
| Learning
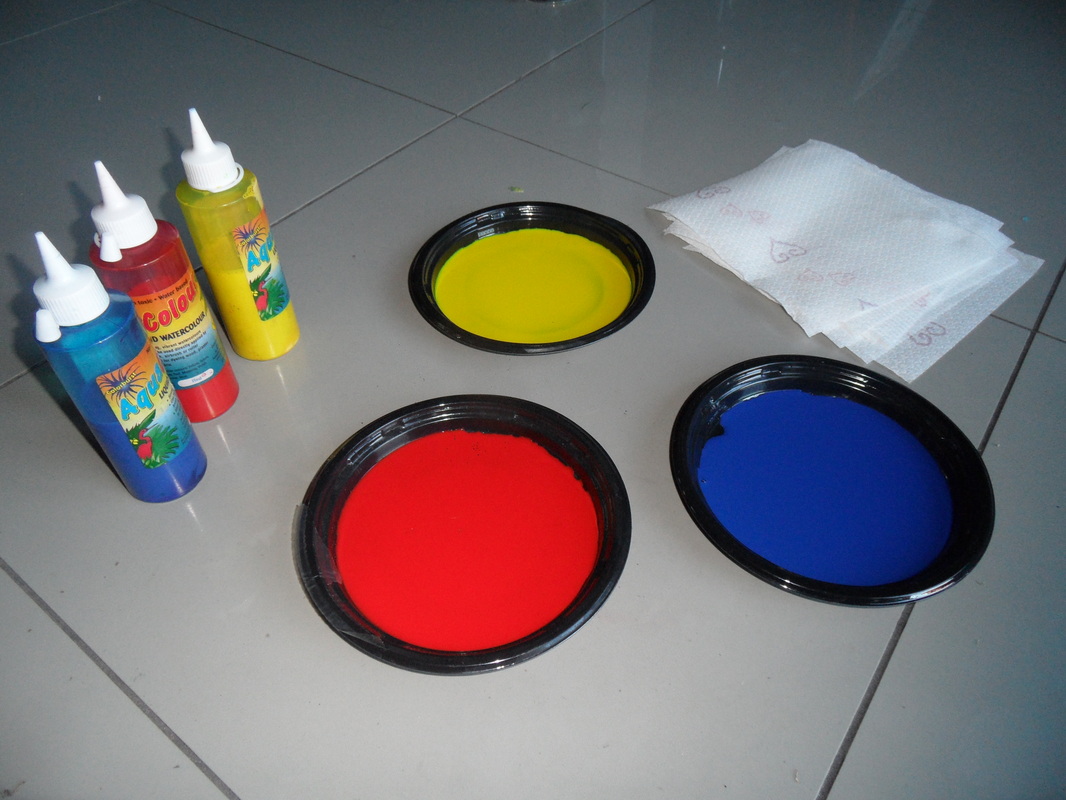
 | What you need:
|   Linking up for Mommy Moments with The Life of Faith, Mom's Monday Mingle with Naptime Review and Toddler Christmas Craft! with Mummy Musings and Mayhem |
Other posts you might like -
 |  |  |


 RSS Feed


